Urban street art right up my alley

Jun 28, 2010

I like art that is clever.  On a recent trip to Powell's Books, I was highly amused by the miniature art in Slinkachu's book Little People in the City.  Slinkachu takes little figurines and creates scenes in the urban enviroment that are humorous and thought-provoking. 


His tiny installations have been in a number of European cities including London, Amsterdam, and Barcelona.  After photographing the models, Slinkachu leaves the installations on the streets for others to discover.


Slinkachu's urban art reminds me of another artist's work.  German artist Jan Vormann fills small gaps in walls with Legos, one of my favorite toys.  His work was spotted in New York City just a few months ago.  Other cities he has "repaired" include Tel Aviv,  St. Petersburg, and Quito.  A visual documentation of his Lego constructions can be found here. 


My Week

Jun 26, 2010


scenic drive to crater lake, oregon
. . . . . . . . . .
the deepest lake in the u.s. proved to be a wondrous sight indeed


stairs in the historic crater lake lodge
. . . . . . . . . .
me, snapped by my 7 year-old


central valley, california


yosemite, the park that ansel adams loved
. . . . . . . . . .
mirror lake


my new drawing

Michelle Ramin's art auction

Jun 25, 2010


Portland artist Michelle Ramin just sent me an email announcing an art auction extravaganza.  Michelle is headed to San Francisco Art Institute this summer for grad school, and she needs our help getting there!  To help pay for tuition and living expenses, Michelle is auctioning off one original work a day for the next four weeks.  Some of the pieces up for bidding include the works shown in this post.  To view the complete gallery of works for auction, go here. 


I'm a huge fan of Michelle's art (read my interview with her). I attended the opening of her show in March where her mixed media portraits of friends and family were featured.  Below is one of her latest portraiture works.  I absolutely love the patterns and colors in this piece! On July 24, Michelle will be auctioning this art work, along with other larger pieces, at FalseFront in Portland.  If you're in the area, come by and show your support.  There's even talk of homemade ice cream! 

I've got mail

Jun 23, 2010

I received handmade cards from two of my readers this past week- one from overseas! I was so encouraged, not only by the kind words inside, but by the lovely art as well. 

Embroidering my art

Jun 20, 2010


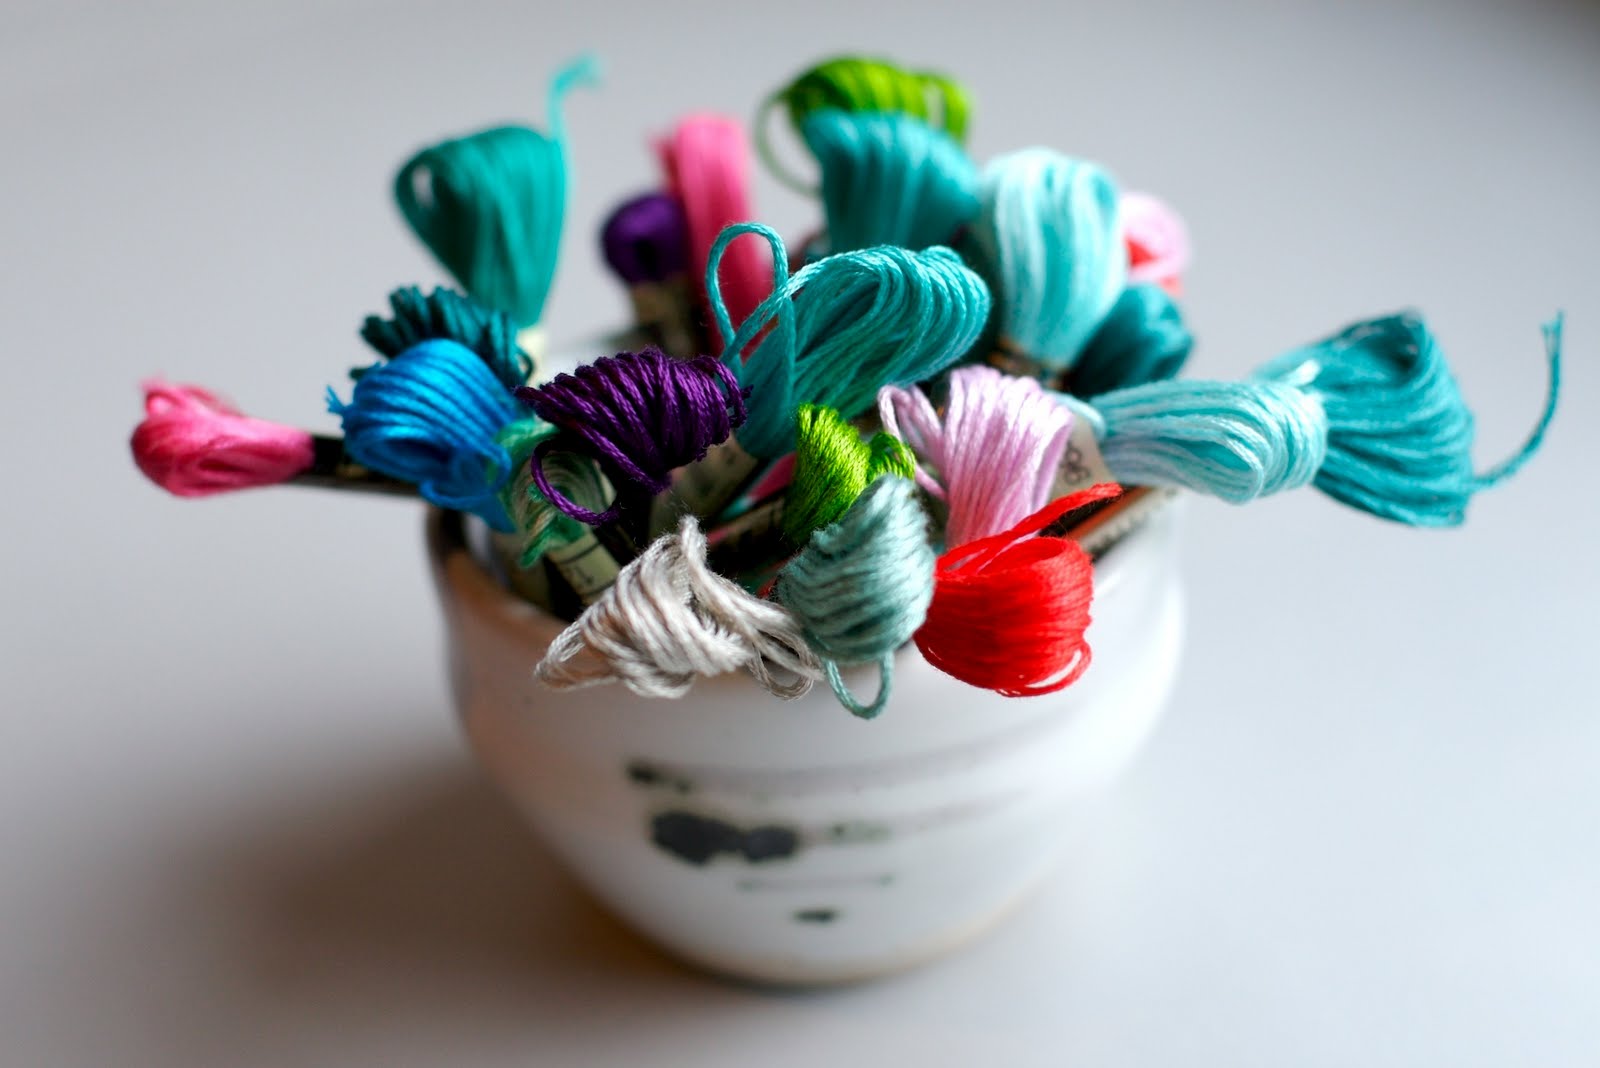
I needed some twill tape earlier this week, so my daughters and I took a trip to the fabric store.  As I was getting 8 yards of twill tape measured, my youngest daughter was checking out the array of embroidery floss nearby. I could see her softly touching some of the brightly colored thread as if to say "I would choose this one."  So, after my twill tape was cut, I asked her if she wanted to help me pick out a few colors.  That few quickly became a dozen. 

In recent months, I have had an urge to use embroidery thread in my work, especially after seeing the works of this artist.  My embroidery floss stayed packed away until I printed out this design on fabric a few days ago.  


The design is based on my drawing "Pods."  I liked how the center of the design turned out and thought that a monogram would fit nicely in the space.  Instead of a person's initials, I decided to use "PDX," which is another name for Portland.  After cross stitching the letters, I accented some of the details in the work, which totaled over six hours of work. (I'm sure an expert embroiderer could've completed the task in a third of the time!)  I still have a few more hours of embroidery ahead of me to finish the piece, but I anticipate that the most challenging part of this project will be the framing.  The finished work will measure 8" x 8", and I'm thinking that I would like to make a frame for it.  Hmm, did I just say that?

Fabric tape now in shop

Jun 19, 2010


I'm having so much fun with this fabric tape idea.  Yesterday, I just bought a gizmo off of Craigslist that can put adhesive on the back of my printed fabrics, and it can take sheets up to 9" wide!  So now I'm able to create larger pieces of fabric tape. This gives some versatility to how the fabric tape can be used.  In addition to decorating gift boxes and letters, you can use it to create custom bookmarks.  Just place a strip of the tape on cardstock and trim the top and bottom edge with pinking shears.  If you can think of other ideas, I'd love to hear them!


I am currently selling the fabric tape in my Etsy shop.   I can only make a few at a time, though, since I prepare and print the fabric in my home studio.  So, there may be a wait until the next batch is complete. 

Just so that you know, I will also be closing my Etsy shop for a couple of weeks starting Tuesday.  I'll be going on a road trip.  One of my stops will be Sisters, Oregon.  I'm sharing a booth with a dear friend of mine at the Sisters Summer Faire.  If you happen to be in the area on Saturday, July 3, please stop by and say hello!

making your own fabric tape

Jun 17, 2010


I was thrilled to discover last week a wonderful new blog called Annekata.  The first post I read was a tutorial on how to make your own fabric tape, and I knew that was the first thing I wanted to do with my printed fabric.

The steps are quite simple.  (And I'm sure you could even improvise with double-sided tape, but I wanted to create a more permanent bond between the fabric and tape.)


I bought some packaging tape and laid a strip of it on some wax paper.  Since the tape had some gloss on the non-sticky side, I used sand paper to prepare the surface for glue.  (If you skip this step, you'll find that the fabric will just peel right off of the tape.  Believe me, I tried it!)

I applied some Tacky Glue on the tape (the bottle comes with a handy brush), and then laid a strip of fabric onto the tape. 

I smoothed out the fabric with my fingers.

Once the glue dried, I used a rotary cutter to cut out the fabric tape and presto!  My very own custom fabric tape.

Printing your own designs on fabric

Jun 16, 2010

Lately, I've been determined to print my own designs on fabric.  After browsing some diy blogs, I finally ran a test run yesterday on my pigment inkjet printer.  It was surprisingly easy and so much fun! The bulk of the work is actually designing the fabric. I didn't want to spend too much time on a new design before seeing the print quality, so I used one of my drawings from this year as the basis of my fabric design.


I formatted the design to fill an 8.5" x 11" space.  Then I gathered some basic supplies to prep the fabric for printing. 


I used two different types of fabric.  One was a muslin and the other a cotton canvas.  I also experimented with using different backings for the fabric while printing, since fabric alone doesn't have the rigidity to run through a printer.  For the first test run, I ironed the muslin onto freezer paper cut to the same size (shiny side to the fabric).  With the cotton canvas, I decided to use cardstock as a backing.  I didn't adhere the fabric to the cardstock.  I just held the two pieces together as they were being fed into the printer.


Both fabrics and backings seemed to work fine in the printer.  I had to refeed the fabric several times, but eventually it took.

The print quality is not as vibrant as the original design (as expected), but the details on the printed fabric were impressive! And I didn't waste any time in using the new printed fabric.  See what I made in tomorrow's post!
Related Posts Plugin for WordPress, Blogger...